Showing posts with label girls. Show all posts

March 22, 2011

Fabric flowers

Remember this cute shirt?

Here's how I made the flowers.

These are strips of old shirts.

wrapped the pink strip around and around to create the rose. I glued little spots as I went around to hold the fabric together.

On the back I added a small circle piece of jean (again jeans that had holes) to hold the flower together better.

Here is my design to add to the shirt. I sewed the green strips to the shirt and then sewed on the flowers. My girls love there new shirt (thank goodness they share clothes and I didn't have to make two)

March 21, 2011

changes will happen

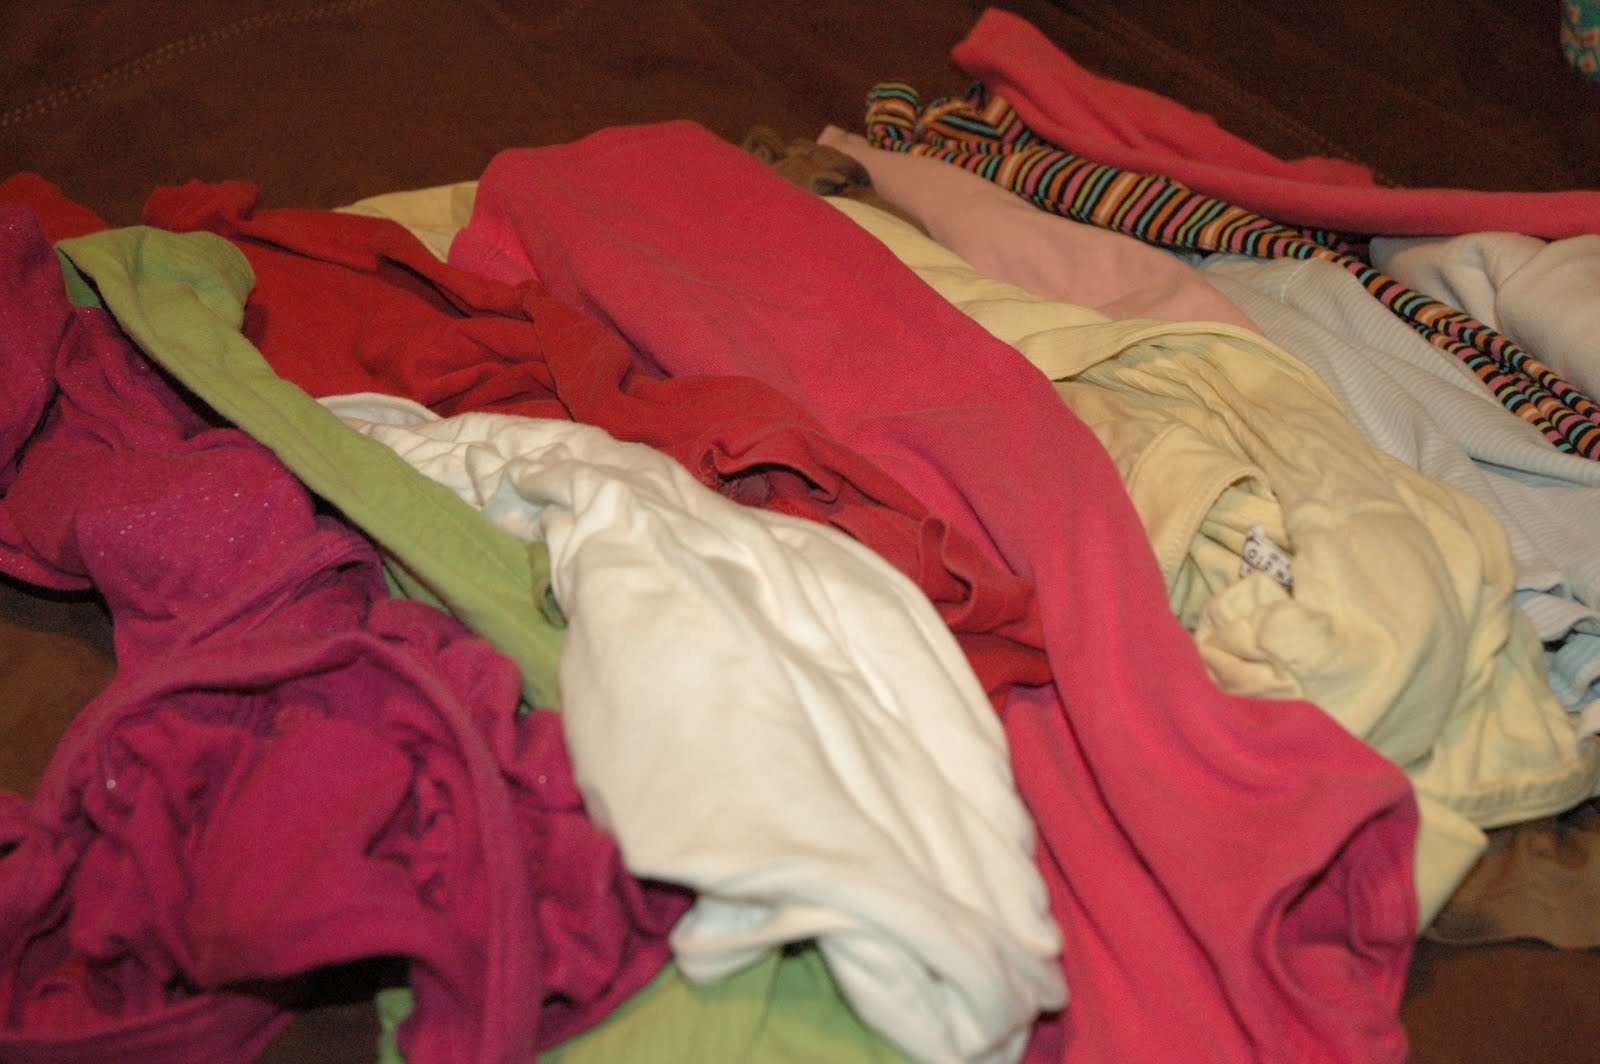
This is a pile of old shirts.

For a while I have been collecting old shirts that have no more use. Spots, holes, stains you name it they have at least one if not more of those things. Well I decided to use them as material.

Here is one of my projects...Stained area on shirt


I used an old green shirt and light pink shirt so come up with this.

March 4, 2011

The knotted headband

This is something I have to try real soon.........what a fun craft for young girls to makecheck out the tutorial on how to make it at
You Seriously Made That!?

(fun blog can't wait to see what Cami comes up with next.....way to go CAMI!)

February 23, 2011

Old pants to new shorts

I am so tired of holes in jeans....fixing them with a regular sewing machine only holds for a while so why not change them to shorts but with a little flair.
Can't wait for summer to see my sweet little girl wearing them.

November 1, 2010

So Simple Headbands

Stacie at The Creative Crate shared this great find on her blog.
what a simple way to create such a cute look

....and did I mention how beautiful they look.
check out the designers Katie @ Tied Ribbon
(she sells them at her Etsy store)

Thank you Stacie for allowing me to share.

September 21, 2010

New Shirt

Have you checked out Momma Go Round
great tutorial for a cute flower JCrew look-a-like.
What a fun site and Nina is so creative. Thank you Nina for inspiring me to try something new.
I'm going to make one for me and my sister for Christmas this year.

September 10, 2010

more amazing shirts from Leafy Treetop Spot

So creative!

So Cute!
if you haven't already you need to check out this blog

September 9, 2010

Shirred Flutter Shirt


Came across this....oh and to share! Once I get settled from the move I will be making one for my girls.
Leafy Treetop Spot
flutter shirt tutorial


What a clever idea and it turned out so wonderful. So go on over to Leafy Treetop Spot to find out how.....and while your there check out more amazing ideas too!

August 13, 2010

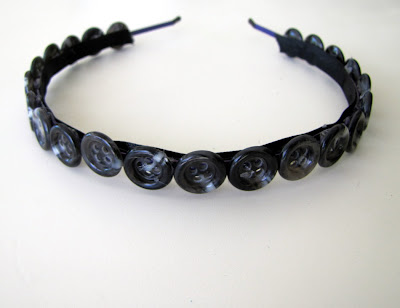
button headband

Came across this adorable headband made by
Ashley over at Little Miss Momma
This is what she used to make it.here's how it turned out. LoVe It!
Follow Ashley and her how to
if you want to make a button headband.

Thank you Ashely for allowing me to share........keep crafting can't wait to see what you come up with next!

August 9, 2010

stretchy baby headband

Little Birdie Secrets is one of my favorite blogs. You'll have to go on over and check this out....there's a tutorial.
would you believe it's made from little tights!
Hurry up and check it out........so cool and clever! HERE

thanks to Little Birdie Secrets for allowing me to share......love your blog!

August 3, 2010

Fun ideas for hair

Ever been stumped for ideas on how to do your hair or even your girls.
Kori @ Princess Hair Styles
can help you out. Here a few of her new creations.
The wonderful thing about Kori is she does step by step or even videos of how to.
TShe has an amazing talent and what cute little models she has as well. I can't wait to try some of these fun designs on my little girls as well as myself.
ChEcK iT OuT!
Styles for Mom. Kori is inspired every where she goes or what ever she sees.
Thanks to Kori for allowing me to share! Now go check her site out
Princess Hair Styles


July 29, 2010

Hanging Flowers

More little detail to the girls room...

Paper Flowers


Lots of paper and time....caught up on DVR shows =)

July 22, 2010

Girls Bulletin Board

More decor for my little girls room
Old bulletin board covered with old fabric that had batting (that I started to make a small quilt but didn't like the way it turned out, so reuse but hide it!)
Flowers from my wedding boutique, Brown ribbon, pink buttons from my collection, and pink brads cut the backs off the hot glued everything down.
Don't look to close I originally thought I was going to make the board like the girls quilts but realized I didn't have enough scraps to make it cute. Therefore that's why there is a cut in the fabric. Thank goodness the girls don't mind and things will cover mom's mess up.
Time to make 45 minutes ~ Cost just the pink brads $2 had everything else at home, but my guess if you didn't have the thing on hand $15

July 12, 2010

Nail polish is it a kids toy or not?


Do you have girls who like painting nails but they just don't sit long enough for them to dry.
Try this....

It looks like a normal nail polish bottle but it has a secret.
It's dried out! Old nail polish bottle that the polish was getting sticky and not spreading nice so I changed it. I shook the closed bottle really well (since there was only a little nail polish left) then opened up and left it open for a few days for it to dry. I even left a little on the brush so my girls think its really coming out. Fun pretend nail polish!

June 29, 2010

baby doll wants one too!

Do you remember my previous post, of my little girls Dream Room? HERE
Well I knew that there dolls would want one too! I made the little blankets with the scraps from there quilts. Don't look to close I had to use some uneven fabric pieces to make them work. Oh well the girls love them and so do there dolls.

June 24, 2010

More Tu-Tu

Tu-Tu
Had to share more tu-tu -- These two were made for my nieces.
(Dark pink, light pink and white mixed with ribbon of the same colors)
(brown, white, & burgundy mixed with ribbon cream, brown, & burgundy)
Check out my previous post for the tutorial of how to make, HERE