I have been working on this for a while and it took me some time to understand how to make it... but I REALLY
love it!

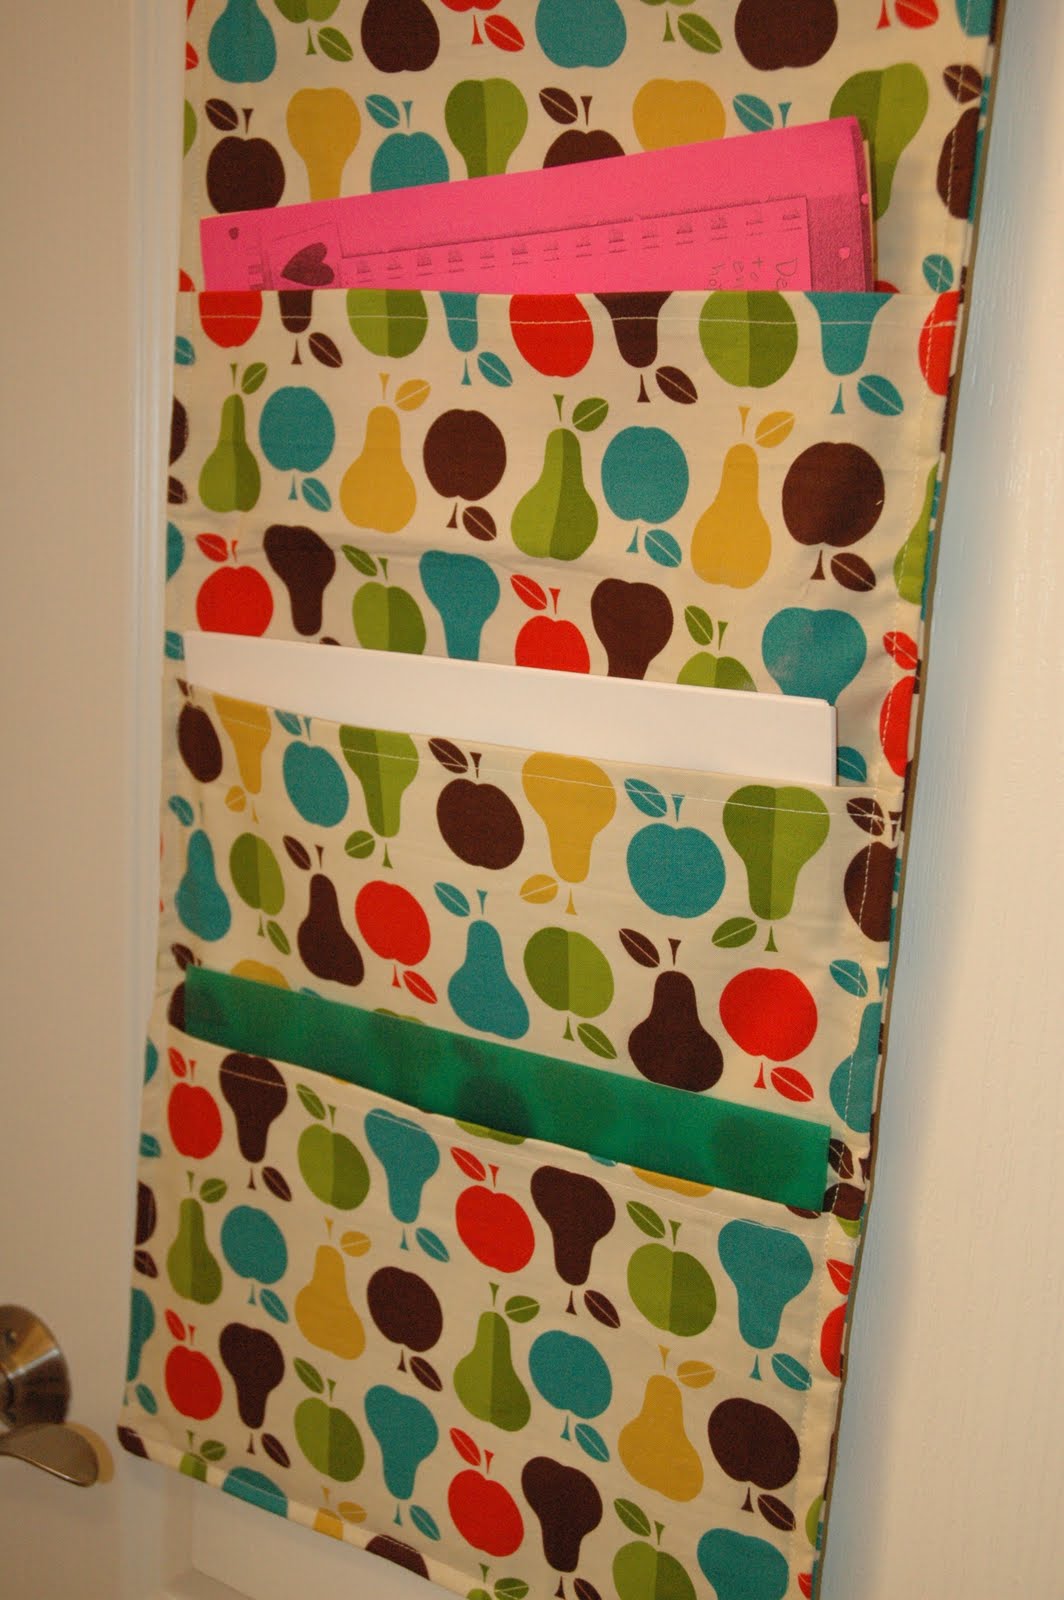
My HANGING FILE HOLDER
I'm using it for my children homework and school papers

This was a BIG project so it may take a few reads to understand how to make it...if anyone has questions please let me know. (I tried to make this post reader friendly, hope you'll understand)
HOW TO:Start with 1 yard of fabric
iron on interfacing to the back of the fabric (this will give it the thickness you will need to hold papers/folders/etc)
***I hope this will make since, I'm going to color code the description to better help.***cut into 3 equal strips - long rectangles (3 - 13 X 42)
first strip will be color coded RED
second strip will be color coded BLUE
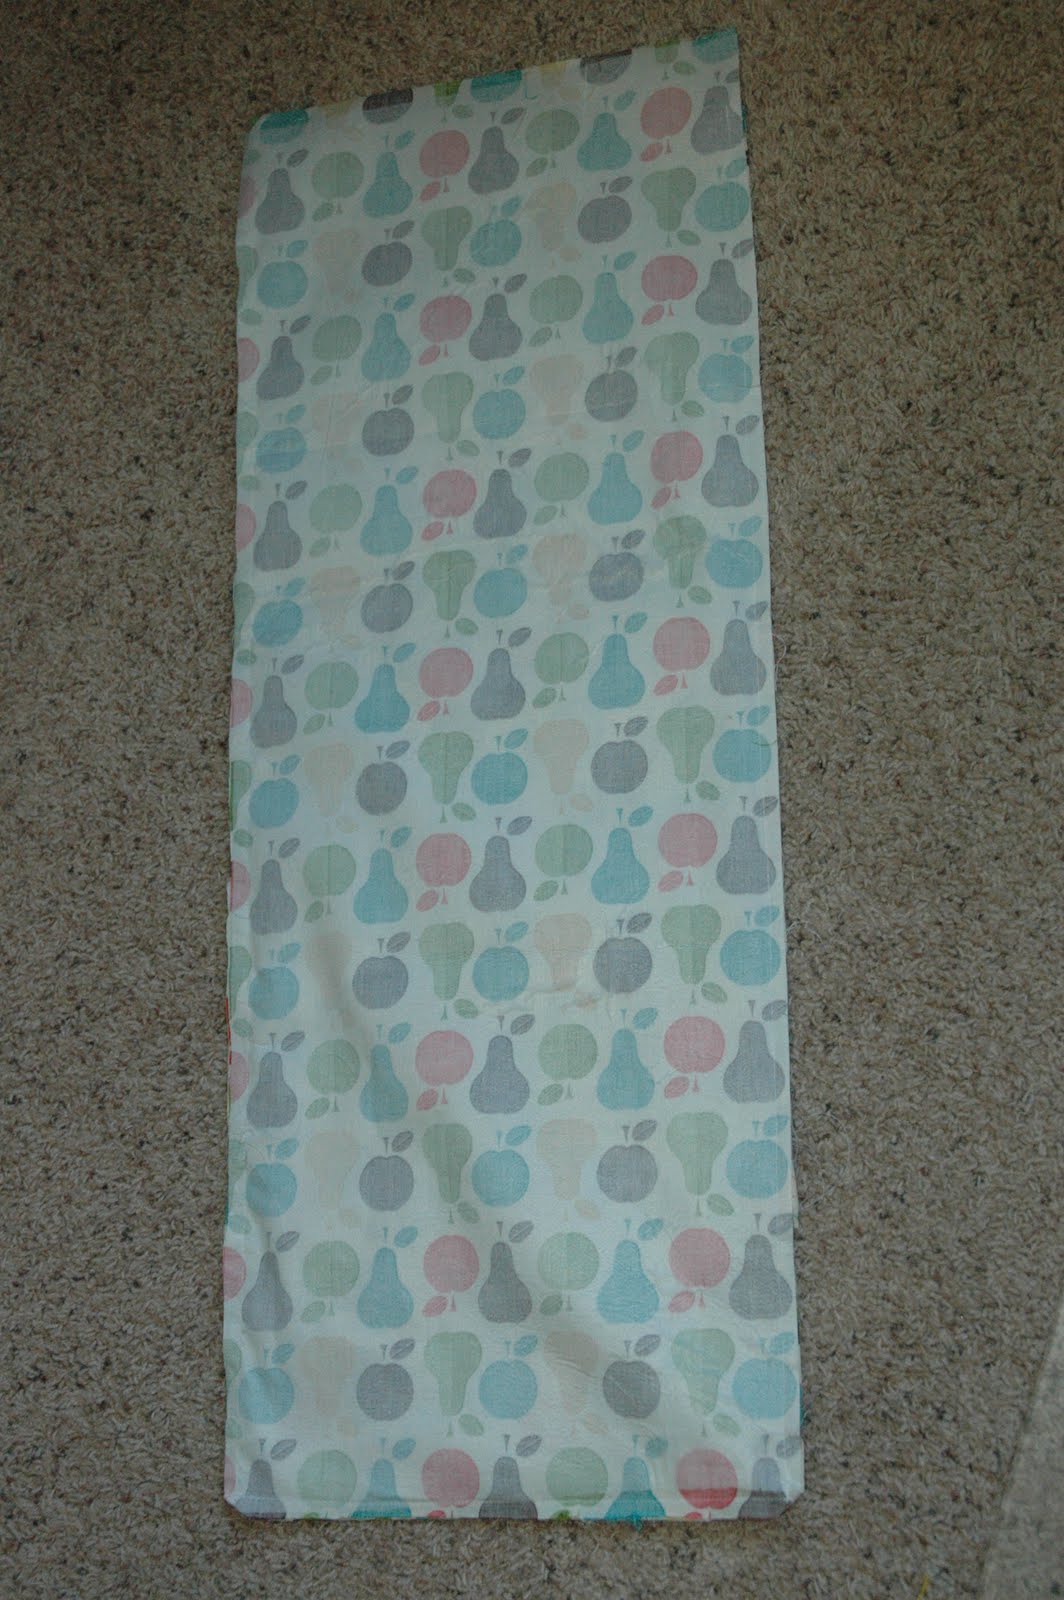
third strip will be color coded GREEN 1 of the large strips set aside (this will be the back)
the second cut into 4 equal parts 4 - 13 X 9 (this will be used for the pockets of the folders)
the third cut into 4 parts (1 - 13 x 15 ) & (3 - 13 x 9 )
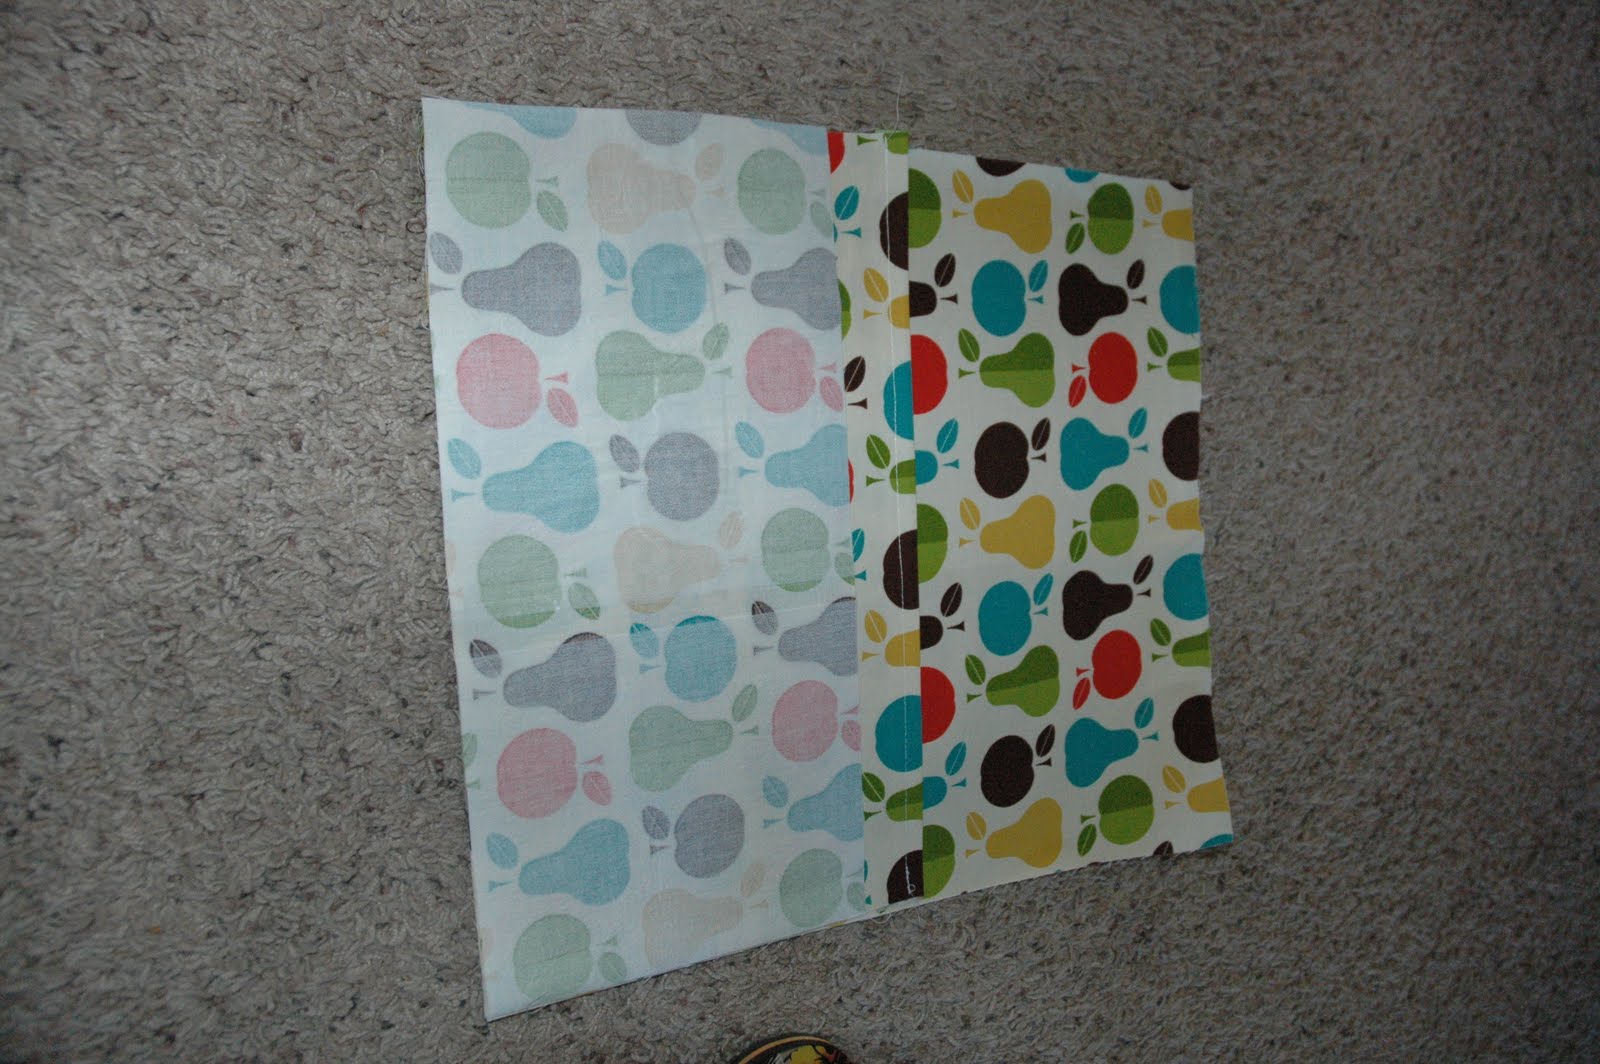
 Take the 4 folder pockets (13 x 9) and sew edge down on one of the long sides of each rectangle, see below (this will be the top of the pocket)

 OK, bear with me this is where it will get a little tricky.take the large square (13 x 15 )one pocket folder (13 X 9)and 1 small rectangle (13 X 9 )
Place the
pocket folder on top of the
large rectangle matching up the edges (make sure the finished edge is in the middle (remember this will be made into a pocket)

Then take the
small rectangle and place it upside down (showing the interfacing) on top of the
folder pocket again match up the edges, pin and sew straight line, remove pins.

NOW read carefully - unfold the
small rectangle to show the fabric (see below)

Take a
folder pocket (that has a finished edge) and place it on top of fabric, showing the fabric. Make sure to place the sewn edge on the middle of the creation. Match up edges of the
small rectangle that is attached to the rest of the fabric.

picture shows: 2nd
pocket folder on top of sewed fabric. you can start to see how it will turn out.

* *
(* look at the picture above to see where the pockets are)
take a small rectangle and place it upside down (showing interfacing) on the pocket folder, pin and sew straight edge, remove pins.

unfold
small rectangle and repeat same steps above for 3rd & 4th pocket
3rd
pocket folder place on top of
small rectangle, fabric showing, then take a
small rectangle and place it upside down (showing the interfacing) now pin and sew straight edge, remove pins.
unfold small rectangle and place 4th
pocket folder place on top of it showing fabric.
DO NOT Sew....yet

Take the
long rectangle (remember you placed one of the first strips aside.)
Place the
long rectangle upside down on top of the creation you have been working on match up the bottom edge and sides (this will be a little longer than the creation you have just sewn together, it's ok it will be cut off at a point soon). Now pin the bottom together ** remember to be careful you still have a
pocket folder that was not attached yet so make sure you match up those edges too.

Are you up to this point? Everything should be attached together if not go back and re-read the instructions to find out where something was missed.

now to attach 2 more sides. When you pin the edges together make sure you have the fabric laying flat and that you attach a pin to each area where there is a pocket to make sure it lays down right when the creation is complete.

From here remove the pins, cut off the extra edge of fabric. Take the creation and turn it inside out (which will make it the right way, now showing the fabric and the pocket of the hanging file folder. Fold in top edge to complete the finished look and pin down to sew the edge, repeat all the way around the entire hanging folder.

Doesn't it look CUTE! I love it already and it's now finished. At the top corners use ribbon for it to hang on hooks. Now your are finished! Hang on hooks......I can't wait to use it. I hate clutter from backpacks and projects so now there is a place for it all to be (and OFF my counters, YES!!)







 I decided to use numbers to be able to mark the order of things I'd want to make.
 They work out perfect instead of the torn pieces of paper I've been using in the past.


 So here's my solution.....take a sandwich size container and change it to this....
 Then added the side picture to the inside of the container so I could see what puzzle it was on the shelf.