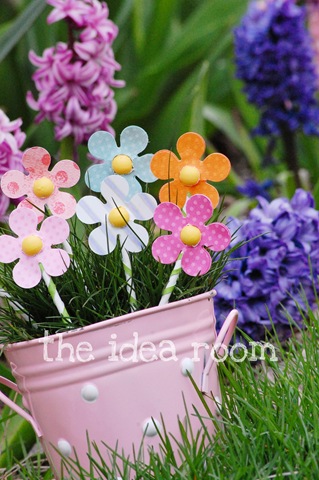
Looking for something to crate with your little ones.....THE IDEA ROOM has great ideas!
Found out how to make these adorable spring flowers over there.

and here is a little something mommy too....
Under My Umbrella

 Healthy fixings ......buying in bulk.....plus "mom approved"


it's wonderful to have in your purse/bag for those days your waiting for something.....if it be at a doctors appointment or as simple as waiting in line at the store. Found over at Little Birdie Secrets......thanks for the idea!
 My girls would love this on there bikes even the bell.
 Found this cute idea over at Noodlehead
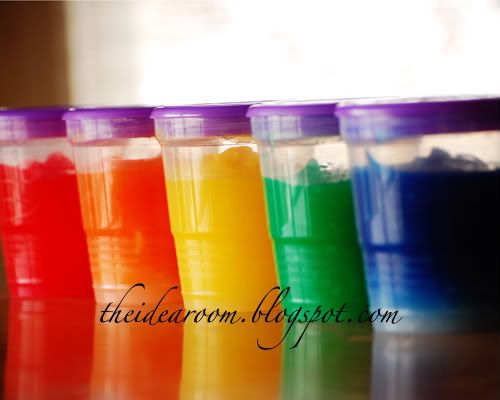


 10 minutes to make
 My girlfriend and I have been racking our brains to come up with some ideas for her daughter for girls camp for her secret sister. This is what I came up with.
 Mark 2 1/4 inches from bottom up to create the bottom of the box
 On the opposite edge of that same 6 x 12 paper make small cut on the outer side of the paper 1/2 inch in.
 On the short side of both papers find center and attach eyelet
 feed ribbon thru the eyelet and tie off. (I used tape to hold down since it will be covered by some paper).
 take both papers and cover eyelet with small edge of second paper. Attach with glue. Do same thing for the other side and the small edges (1/2 inch edges - See pictures below)
 To attach bottom fold in small edges, glue then large edges. This will create a solid bottom.
 (picture of door flap)
 added small piece of ribbon to use to pull open the flap. (attached with stapler)
 And that's it so cute, fun but a little challenging to make. I think next time I might just use the bottom of a cereal box or cracker box and cover with paper. =)
 this is an old shirt that has stains and I was just going to throw it out and thought why not cover up the stains and change it up a little.
 I started with these....
 Paint tip: I keep my paints in a photo box and can only see the top so I dabbed a little of the paint from the bottle on the top so I can always see what color it is.
 finished product!
 Did a little change to the sleeves....laid them flat
  made a cut 1/2 inch up into the sleeve
 cut again but this time parallel with the bottom of the sleeve 1 1/2 inches
 took the cut strips and tied them into a square knot
 Cute little changes to an old t-shirt

 Carrie and her girls made these freezer pops with crystal light. She used the food saver bags and cut them at the black slash mark (I think its about 1 1/2 - 2 inches between each mark). Cut into strips (to look like the freezer pops) and sealed both sides, then cut one side of the short ends and added Crystal Light 3/4 the way up. Her trick to seal was to place the filled freezer pop hanging over on the edge of her counter and just sealed, not vacuum sealed, just sealed the edge. Placed the pops in the freezer lying down flat and presto.
 Had to show you a comparison of how "big" these really are.
 I love there "as is" section and found a table just like this but in off white and turned it in to this.....

 Cost: under $100 ~~ $42 for the table, $5 each for the Lego mats (8*5= $45)