More little detail to the girls room...

Paper Flowers


Lots of paper and time....caught up on DVR shows =)

 Missing my little model this week, she's visiting Mimi & Grandpa.
 How about now?
 Soda pop tabs. This took about 60 tops. If you want to attempt to make it measure the ribbon 2 times around the person for the extra ribbon to be used to tie on, if there happens to be extra cut off to your desired length.
 Found matching paper and got the cute little baby face (sizzix cut out) along with the square. Glued down for design I liked and then stitched around the edges with sewing machine. Then added the rubbed look with ink around the edges.


 It took me longer to find the papers I wanted to use then to make the cards. I make a dozen of each design. Better made in quantity, then one at a time.
 a little detail......ribbon, staples, paper, and chipboard.
 and the best part...CASH for the gift!
  Time to make:
 Old bulletin board covered with old fabric that had batting (that I started to make a small quilt but didn't like the way it turned out, so reuse but hide it!)
 Flowers from my wedding boutique, Brown ribbon, pink buttons from my collection, and pink brads cut the backs off the hot glued everything down.
 Don't look to close I originally thought I was going to make the board like the girls quilts but realized I didn't have enough scraps to make it cute. Therefore that's why there is a cut in the fabric. Thank goodness the girls don't mind and things will cover mom's mess up.
 Time to make 45 minutes ~ Cost just the pink brads $2 had everything else at home, but my guess if you didn't have the thing on hand $15

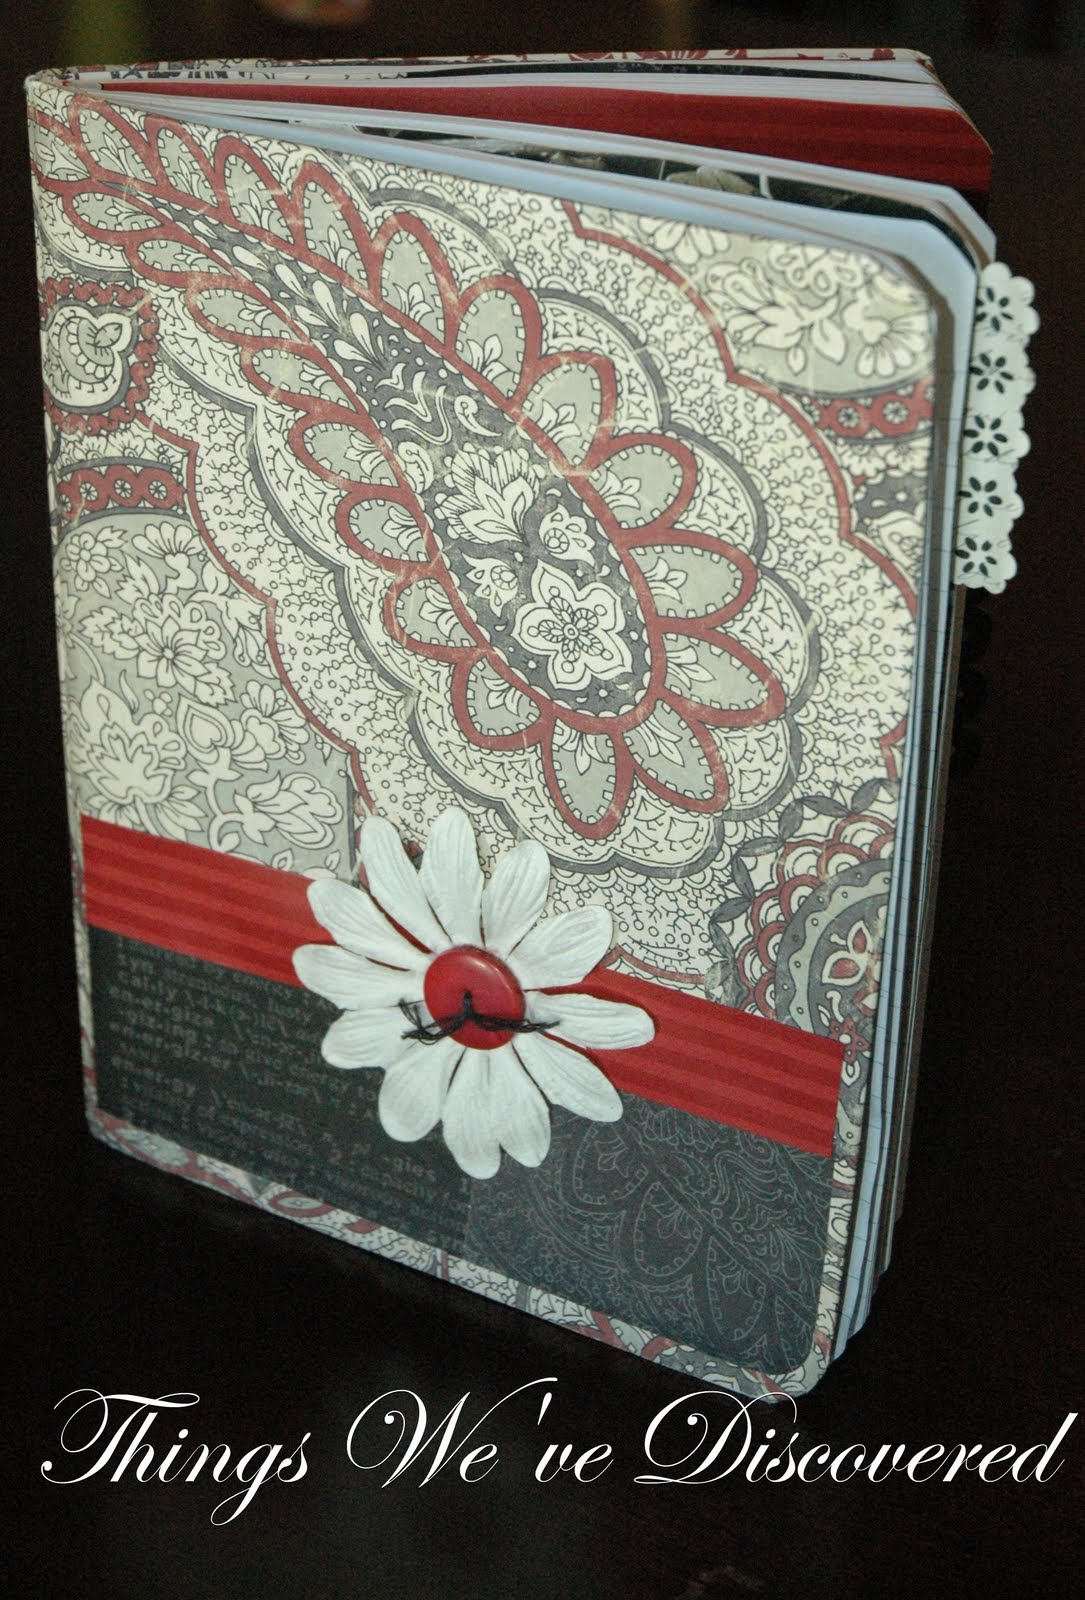 Add a little something extra.
 a little extra fun stuff on top.
 Supplies: Composition book
 It looks like a normal nail polish bottle but it has a secret.
 It's dried out! Old nail polish bottle that the polish was getting sticky and not spreading nice so I changed it. I shook the closed bottle really well (since there was only a little nail polish left) then opened up and left it open for a few days for it to dry. I even left a little on the brush so my girls think its really coming out. Fun pretend nail polish!
 Easy and cute.....plus cheap to make
 Can you tell what I used?
 I clear picture frame on its side.
 Cost $1 each (frame, had the scrap papers on hand) ~~ Time 10 minutes
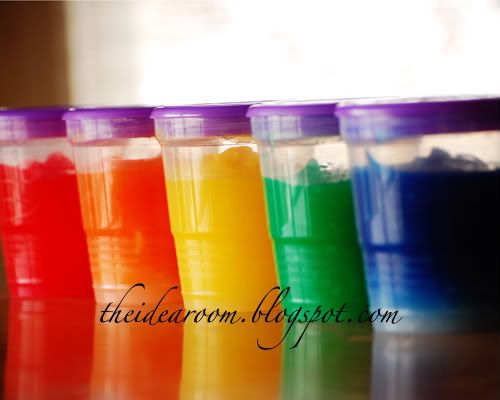
 I've been wanting to make another wreath for my door and with 4th of July coming up I thought it was the best time.
 made with wire, beads, and letters cut out with my cri-cut.
 Happy 4th to everyone!


 10 minutes to make
 My girlfriend and I have been racking our brains to come up with some ideas for her daughter for girls camp for her secret sister. This is what I came up with.
 Mark 2 1/4 inches from bottom up to create the bottom of the box
 On the opposite edge of that same 6 x 12 paper make small cut on the outer side of the paper 1/2 inch in.
 On the short side of both papers find center and attach eyelet
 feed ribbon thru the eyelet and tie off. (I used tape to hold down since it will be covered by some paper).
 take both papers and cover eyelet with small edge of second paper. Attach with glue. Do same thing for the other side and the small edges (1/2 inch edges - See pictures below)
 To attach bottom fold in small edges, glue then large edges. This will create a solid bottom.
 (picture of door flap)
 added small piece of ribbon to use to pull open the flap. (attached with stapler)
 And that's it so cute, fun but a little challenging to make. I think next time I might just use the bottom of a cereal box or cracker box and cover with paper. =)


