March 31, 2011

Changable monthly calendar


"How we spend our days is of course how we spend our lives"

Looking for a new way to get organized with all the schedules you have to keep? I love this calendar since I can use it any way I want. If I happen to have a full month on it at once or have half of one month and the next half of the other. It's perfect to change since you can use dry erase markers and it just wipes off.


and yes this was another creation by my sister in law Shannon........love how talented she is!
If you'd like to order something from her please place a comment below and I will get you in contact with her directly. THANKS!

March 29, 2011

Welcome

Had to share how talented my sister in law Shannon is.........


She has been doing vinyl decor for years and well this is one of her new creations (about a year ago but I finally got one! YEAH!!!)

I love the look of the metal.

March 28, 2011

Oh I wish I could design....

and if I was in my house I so would use these ideas to inspire my decorating home.

Eighteen25
I love clocks and have a small collection this would be fun.

These are something I would so much love in my home.

Pink and Polka Dot
(this shot shows how to recover furniture but I really like the room in the back ground.....the shutters on the wall caught my eye............love that POP of color!)

March 24, 2011

Hanging File Folder

I have been working on this for a while and it took me some time to understand how to make it... but I REALLY love it!
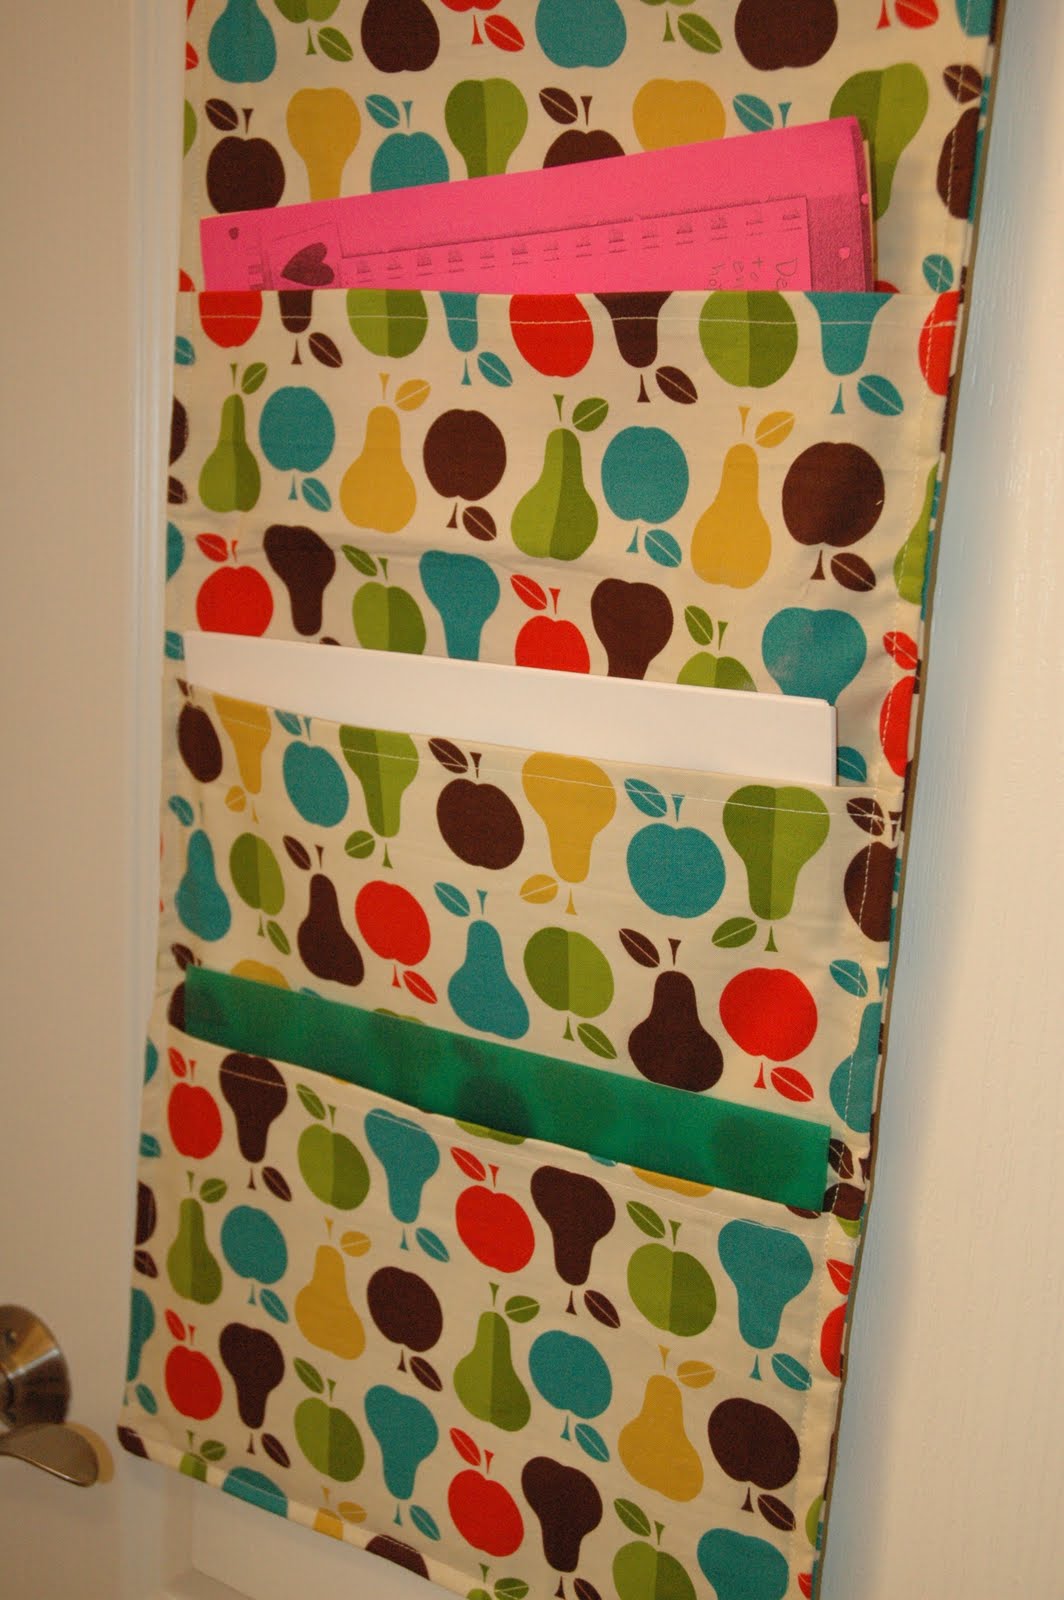
My HANGING FILE HOLDER
I'm using it for my children homework and school papers


This was a BIG project so it may take a few reads to understand how to make it...if anyone has questions please let me know. (I tried to make this post reader friendly, hope you'll understand)
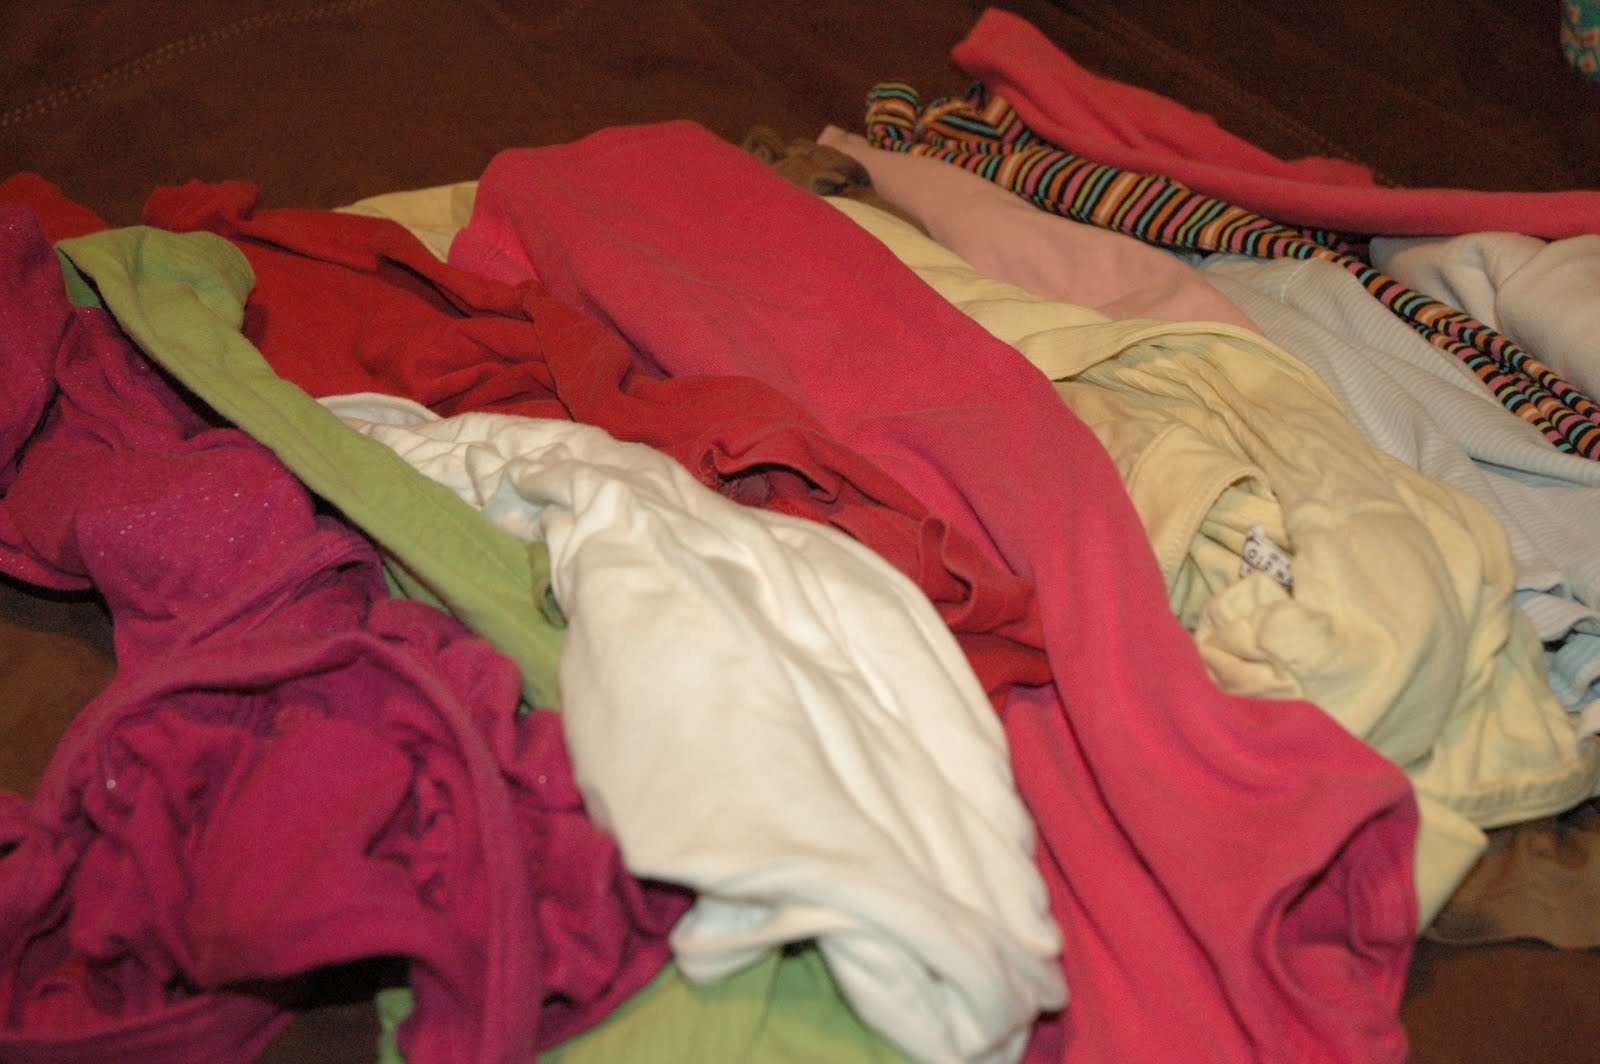
HOW TO:
Start with 1 yard of fabric
iron on interfacing to the back of the fabric (this will give it the thickness you will need to hold papers/folders/etc)

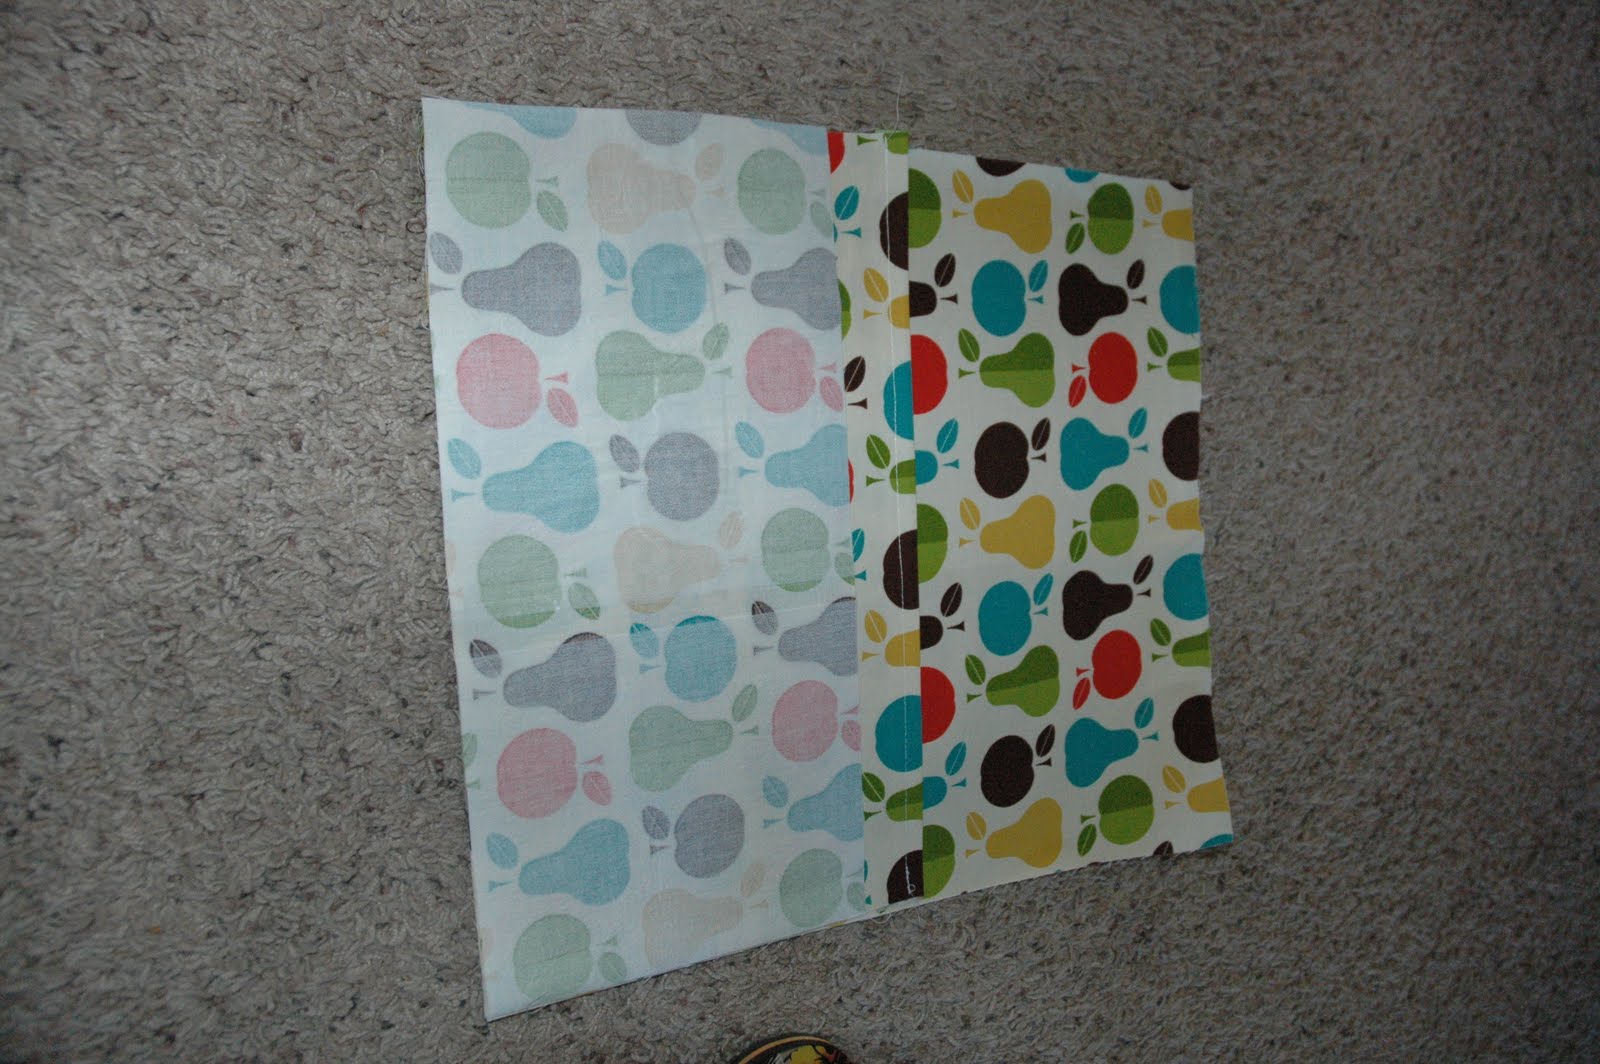
***I hope this will make since, I'm going to color code the description to better help.***

cut into 3 equal strips - long rectangles (3 - 13 X 42)
first strip will be color coded RED
second strip will be color coded BLUE
third strip will be color coded GREEN
1 of the large strips set aside (this will be the back)
the second cut into 4 equal parts 4 - 13 X 9 (this will be used for the pockets of the folders)

the third cut into 4 parts (1 - 13 x 15 ) & (3 - 13 x 9 )


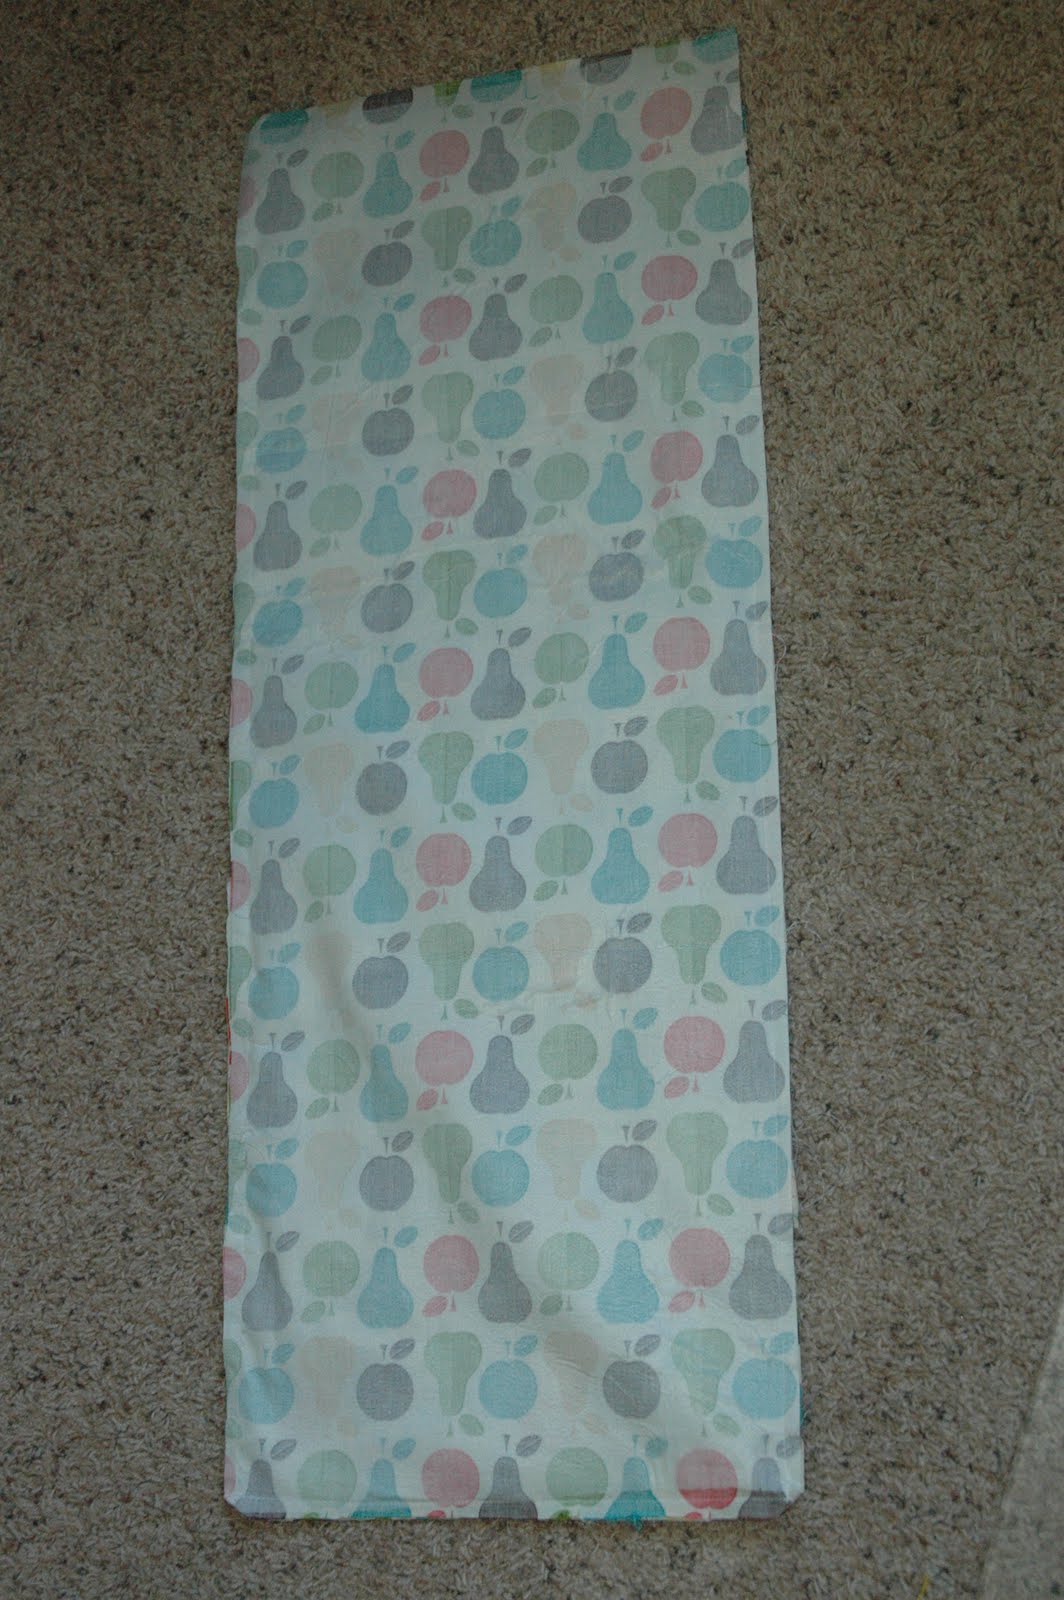
Take the 4 folder pockets (13 x 9) and sew edge down on one of the long sides of each rectangle, see below (this will be the top of the pocket)


OK, bear with me this is where it will get a little tricky.

take the large square (13 x 15 )
one pocket folder (13 X 9)
and 1 small rectangle (13 X 9 )


Place the pocket folder on top of the large rectangle matching up the edges (make sure the finished edge is in the middle (remember this will be made into a pocket)


Then take the small rectangle and place it upside down (showing the interfacing) on top of the folder pocket again match up the edges, pin and sew straight line, remove pins.


NOW read carefully - unfold the small rectangle to show the fabric (see below)


Take a folder pocket (that has a finished edge) and place it on top of fabric, showing the fabric. Make sure to place the sewn edge on the middle of the creation. Match up edges of the small rectangle that is attached to the rest of the fabric.


picture shows: 2nd pocket folder on top of sewed fabric. you can start to see how it will turn out.

* *
(* look at the picture above to see where the pockets are)


take a small rectangle and place it upside down (showing interfacing) on the pocket folder, pin and sew straight edge, remove pins.

unfold small rectangle and repeat same steps above for 3rd & 4th pocket
3rd pocket folder place on top of small rectangle, fabric showing, then take a small rectangle and place it upside down (showing the interfacing) now pin and sew straight edge, remove pins.
unfold small rectangle and place 4th pocket folder place on top of it showing fabric.
DO NOT Sew....yet

Take the long rectangle (remember you placed one of the first strips aside.)
Place the long rectangle upside down on top of the creation you have been working on match up the bottom edge and sides (this will be a little longer than the creation you have just sewn together, it's ok it will be cut off at a point soon). Now pin the bottom together ** remember to be careful you still have a pocket folder that was not attached yet so make sure you match up those edges too.

Are you up to this point? Everything should be attached together if not go back and re-read the instructions to find out where something was missed.

now to attach 2 more sides. When you pin the edges together make sure you have the fabric laying flat and that you attach a pin to each area where there is a pocket to make sure it lays down right when the creation is complete.


From here remove the pins, cut off the extra edge of fabric. Take the creation and turn it inside out (which will make it the right way, now showing the fabric and the pocket of the hanging file folder. Fold in top edge to complete the finished look and pin down to sew the edge, repeat all the way around the entire hanging folder.
Doesn't it look CUTE! I love it already and it's now finished. At the top corners use ribbon for it to hang on hooks. Now your are finished! Hang on hooks......I can't wait to use it. I hate clutter from backpacks and projects so now there is a place for it all to be (and OFF my counters, YES!!)

Happy days....

It's a day to celebrate.......today is our
BLOG-iversary!
One year and still going strong
(well with bumps and bruises along the way)

Thanks for reading all the fun things we create and discover.

March 22, 2011

Fabric flowers

Remember this cute shirt?

Here's how I made the flowers.

These are strips of old shirts.

wrapped the pink strip around and around to create the rose. I glued little spots as I went around to hold the fabric together.

On the back I added a small circle piece of jean (again jeans that had holes) to hold the flower together better.

Here is my design to add to the shirt. I sewed the green strips to the shirt and then sewed on the flowers. My girls love there new shirt (thank goodness they share clothes and I didn't have to make two)

March 21, 2011

changes will happen

This is a pile of old shirts.

For a while I have been collecting old shirts that have no more use. Spots, holes, stains you name it they have at least one if not more of those things. Well I decided to use them as material.

Here is one of my projects...Stained area on shirt


I used an old green shirt and light pink shirt so come up with this.

March 18, 2011

Home make over ideas

I have always LOVED Tatertots & Jello and this post really is full of fun ideas I had to share. GO check it out!

Original idea over at Sit Relax and Read.
I absolutely love this idea! So clever.


March 17, 2011

St Patricks Day wreath

Happy St. Patrick's Day

Here is a little something I came up with one afternoon.


Used my Cricut to cut out the circles and the scalloped edge circles. Made the back paper all the same size and adjusted the others for each lettered area to get the different effect I wanted.


I used things I had on hand so ....NO COST! =)

I used eyelets on the edges then used ribbon to hold each letters together to create "lucky"


But my favorite thing is that it fits in a quart size ziploc and I can keep all my door wreaths together in one spot. ( I have a clear tote for all my wreaths)


Hope your feeling LUCKY........have a great day!

March 16, 2011

St Patrick's Day simple treat

This sweet little treat was delivered to my house last week. So simple and so sweet, my children loved getting something in the mail first of all and second of all having something to eat....they loved it!

St Patrick's Day idea


She used a piece of paper stamped with a shamrock wrapped around candy. What a sweet idea that doesn't cost very much. (well if you hand deliver it) Perfect idea for your little ones or someone who you should do something a little special for.


Thank you Carrie my children LOVED IT!!!

March 14, 2011

Some of my favorite bathroom re dues.....


You have to check them out at Jessica's blog. They are so simple changes that anyone could do. The nice thing is that it is not a huge bathroom remodel.
There are more pictures at her blog but this picture over the bath tub is my favorite. I would love to know how much that simple change cost?

Just a Girl

This was a little more of a remodel but so worth it. I have always loved ocean themed bathrooms. They remind me of clean look and the peace of being at the beach.

You'll have to check out the blog there are amazing before and after pictures.


March 13, 2011

simple changes to simple places

My tip for you: change things that you currently have. If it be a new stain on furniture or paint. Pillows on a bed or sofa. It's a lot cheaper than a new item. Here are some things I've discovered that I like and wanted to share.

Cabinet re due: BEFORE AND AFTER


March 7, 2011

St Patrick's Day treat

yummy St. Patrick's Day treat and so sweet!


4 simple ingredients:
Melting chocolate
green M&M's
Pretzels
Green Sprinkles

I laid out wax paper, placed a layer of pretzels then melted the chocolate. Poured over pretzels and then sprinkled with M&M's and green sprinkles. Let chocolate harden and separated some of the larger chunks. That's it, yummy treat for a green holiday.