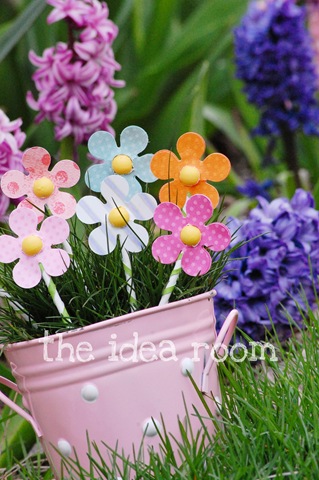
Looking for something to crate with your little ones.....THE IDEA ROOM has great ideas!
Found out how to make these adorable spring flowers over there.

and here is a little something mommy too....
Under My Umbrella


 Love the odd shaped bottles.
 I got this as a gift from my friend Nicole's Mom (so sweet thank you Colleen)
 this could be a new fad. Get the right trellis ribbon and you can have variety of necklaces that give the same effect as wearing a scarf.


 I love the look of the metal.
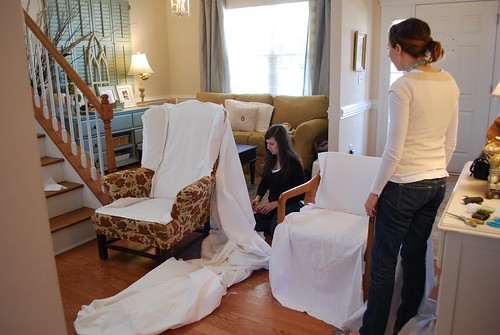

 This was a BIG project so it may take a few reads to understand how to make it...if anyone has questions please let me know. (I tried to make this post reader friendly, hope you'll understand)
 1 of the large strips set aside (this will be the back)

 OK, bear with me this is where it will get a little tricky.

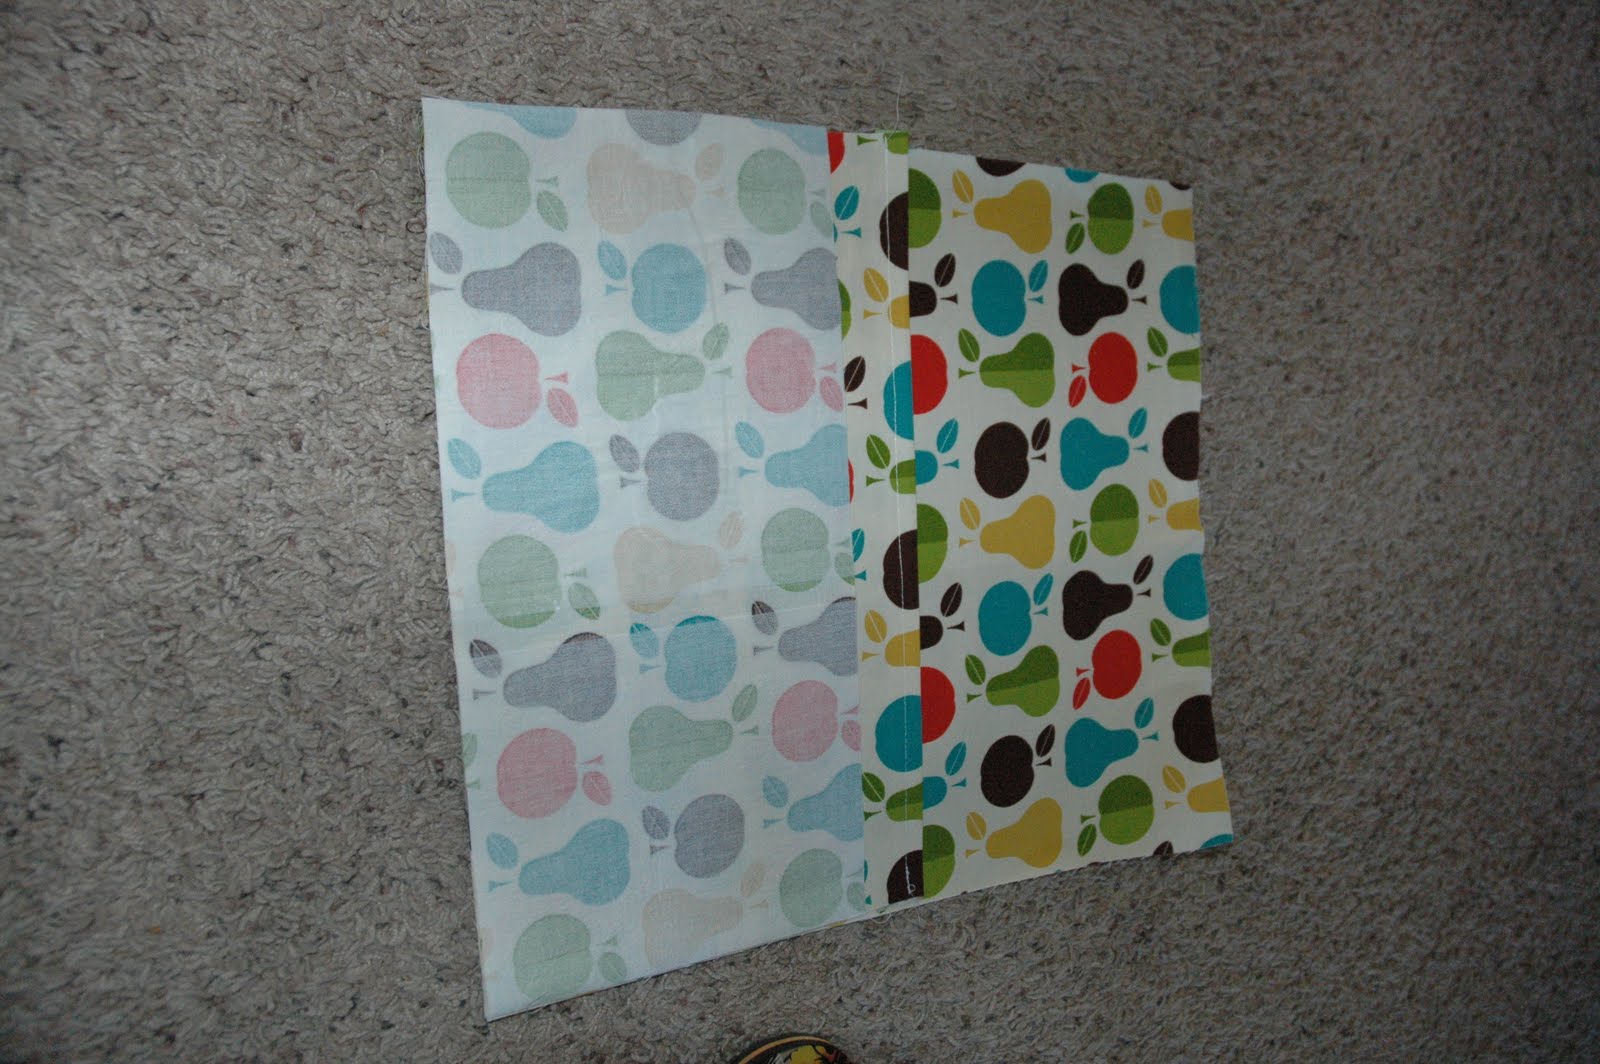


 * *
* * unfold small rectangle and repeat same steps above for 3rd & 4th pocket
 Take the long rectangle (remember you placed one of the first strips aside.)
 Are you up to this point? Everything should be attached together if not go back and re-read the instructions to find out where something was missed.
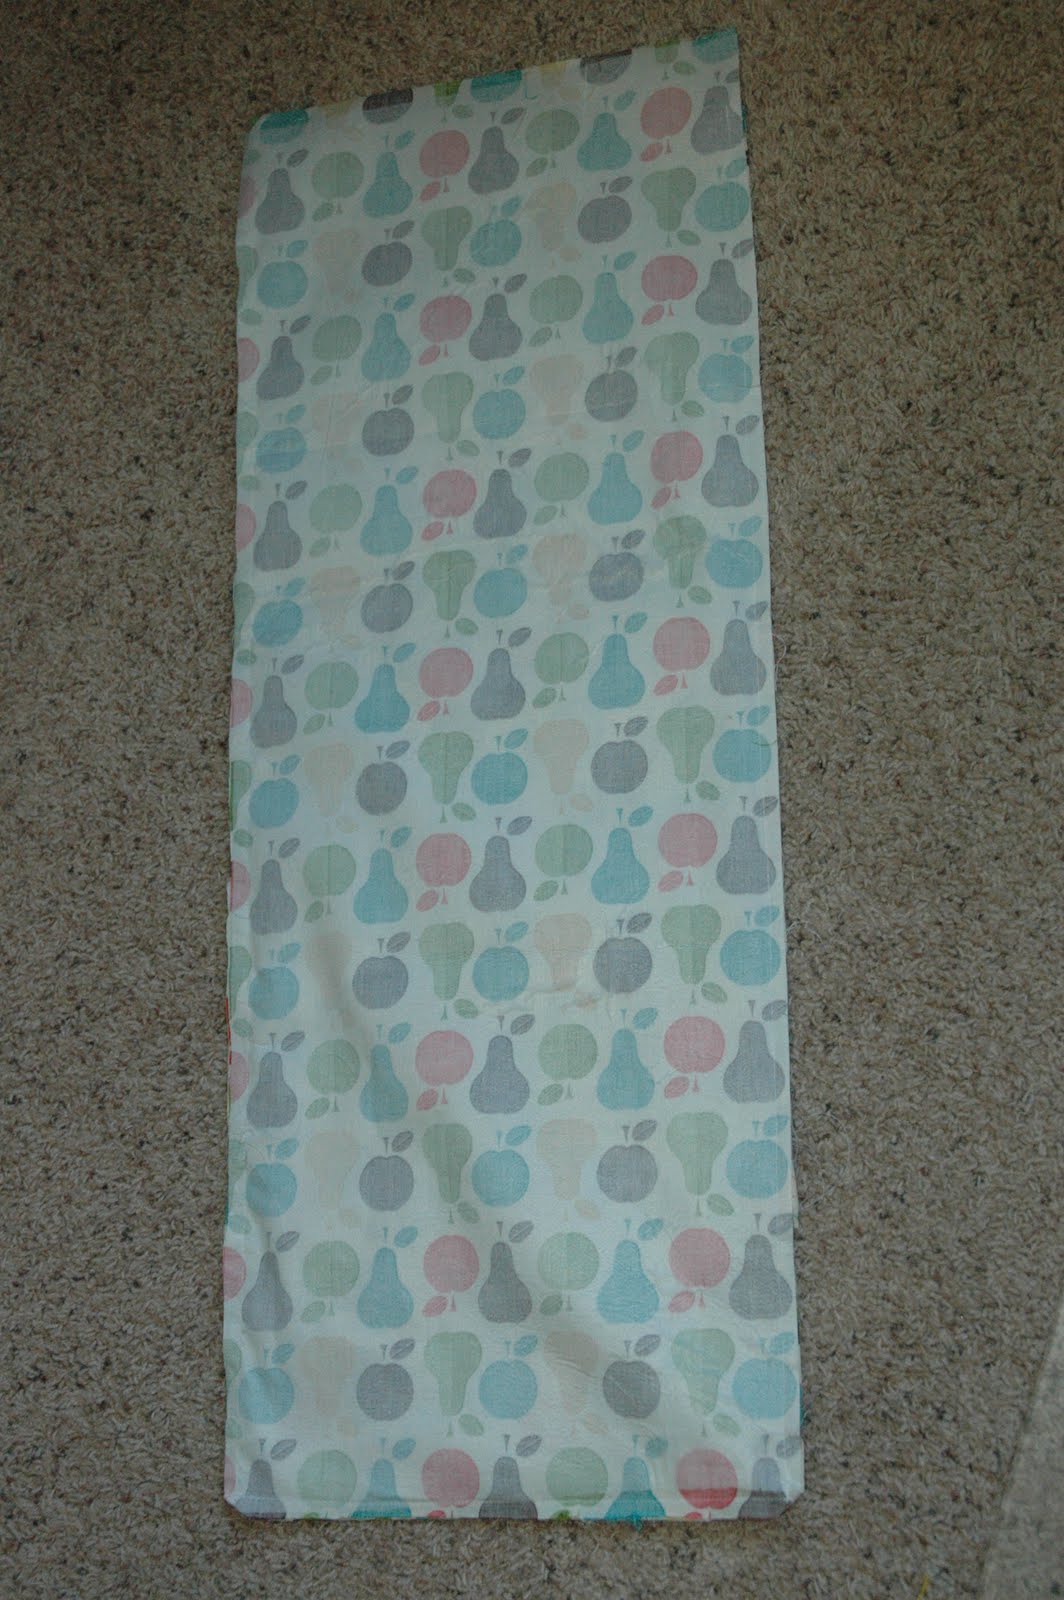 now to attach 2 more sides. When you pin the edges together make sure you have the fabric laying flat and that you attach a pin to each area where there is a pocket to make sure it lays down right when the creation is complete.
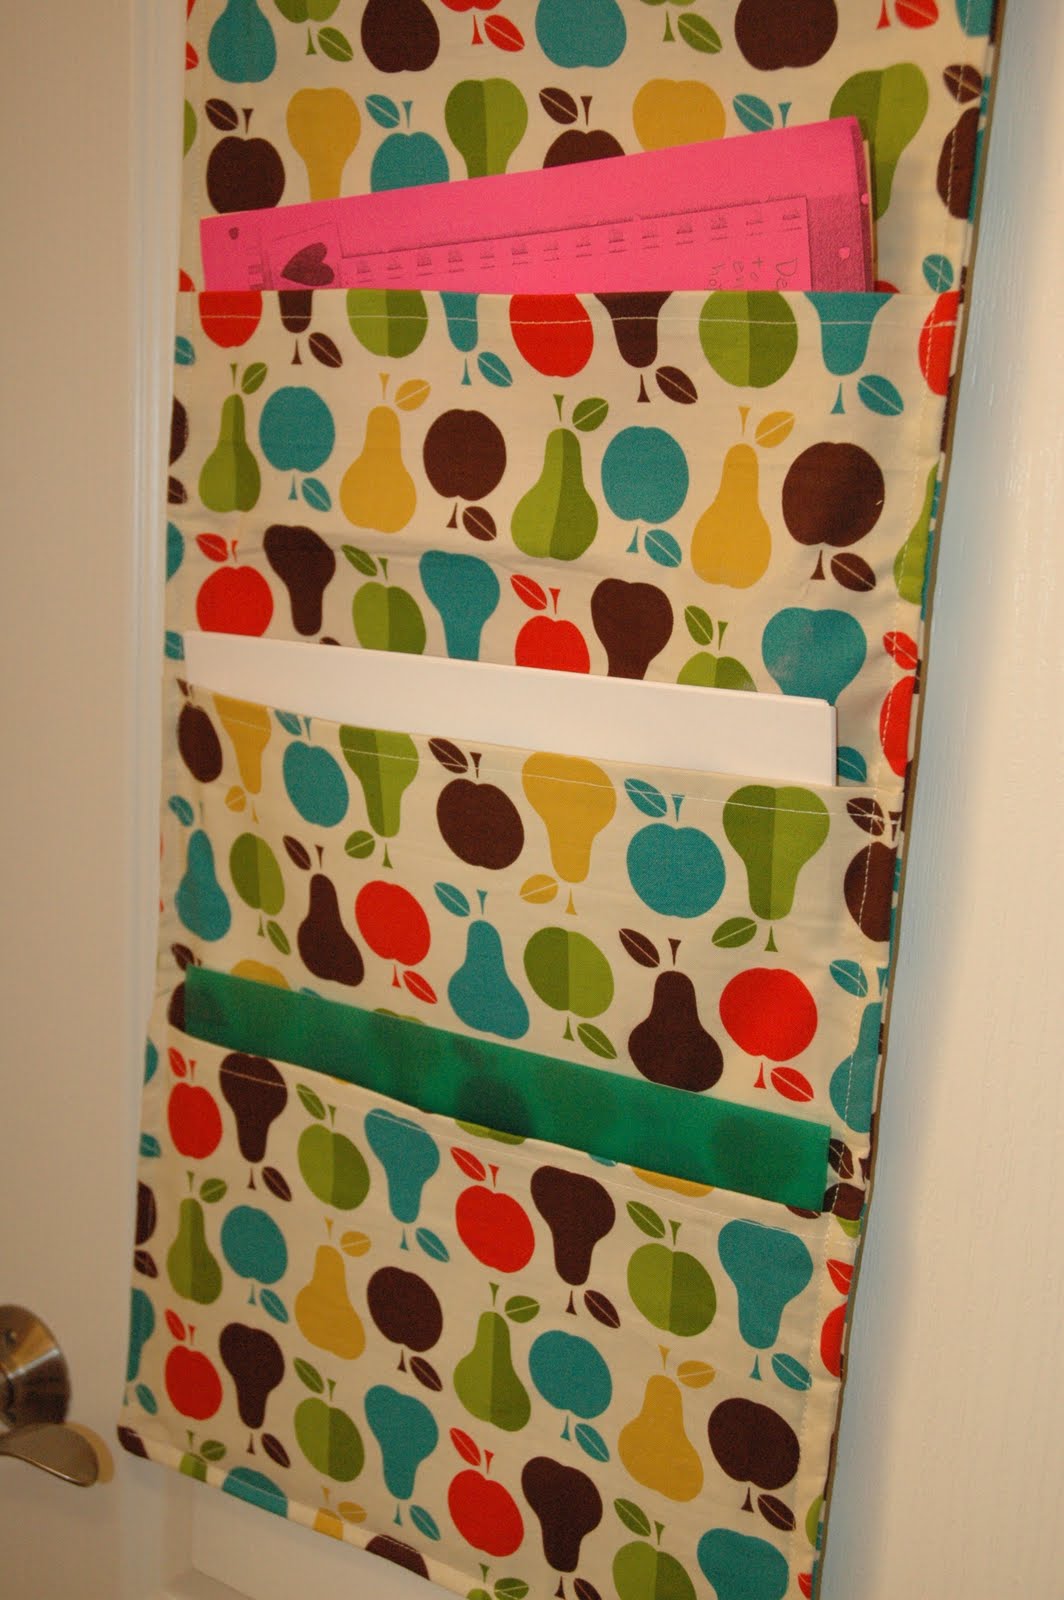 Doesn't it look CUTE! I love it already and it's now finished. At the top corners use ribbon for it to hang on hooks. Now your are finished! Hang on hooks......I can't wait to use it. I hate clutter from backpacks and projects so now there is a place for it all to be (and OFF my counters, YES!!)
 Here's how I made the flowers.
 These are strips of old shirts.
 wrapped the pink strip around and around to create the rose. I glued little spots as I went around to hold the fabric together.
  On the back I added a small circle piece of jean (again jeans that had holes) to hold the flower together better.
 Here is my design to add to the shirt. I sewed the green strips to the shirt and then sewed on the flowers. My girls love there new shirt (thank goodness they share clothes and I didn't have to make two)
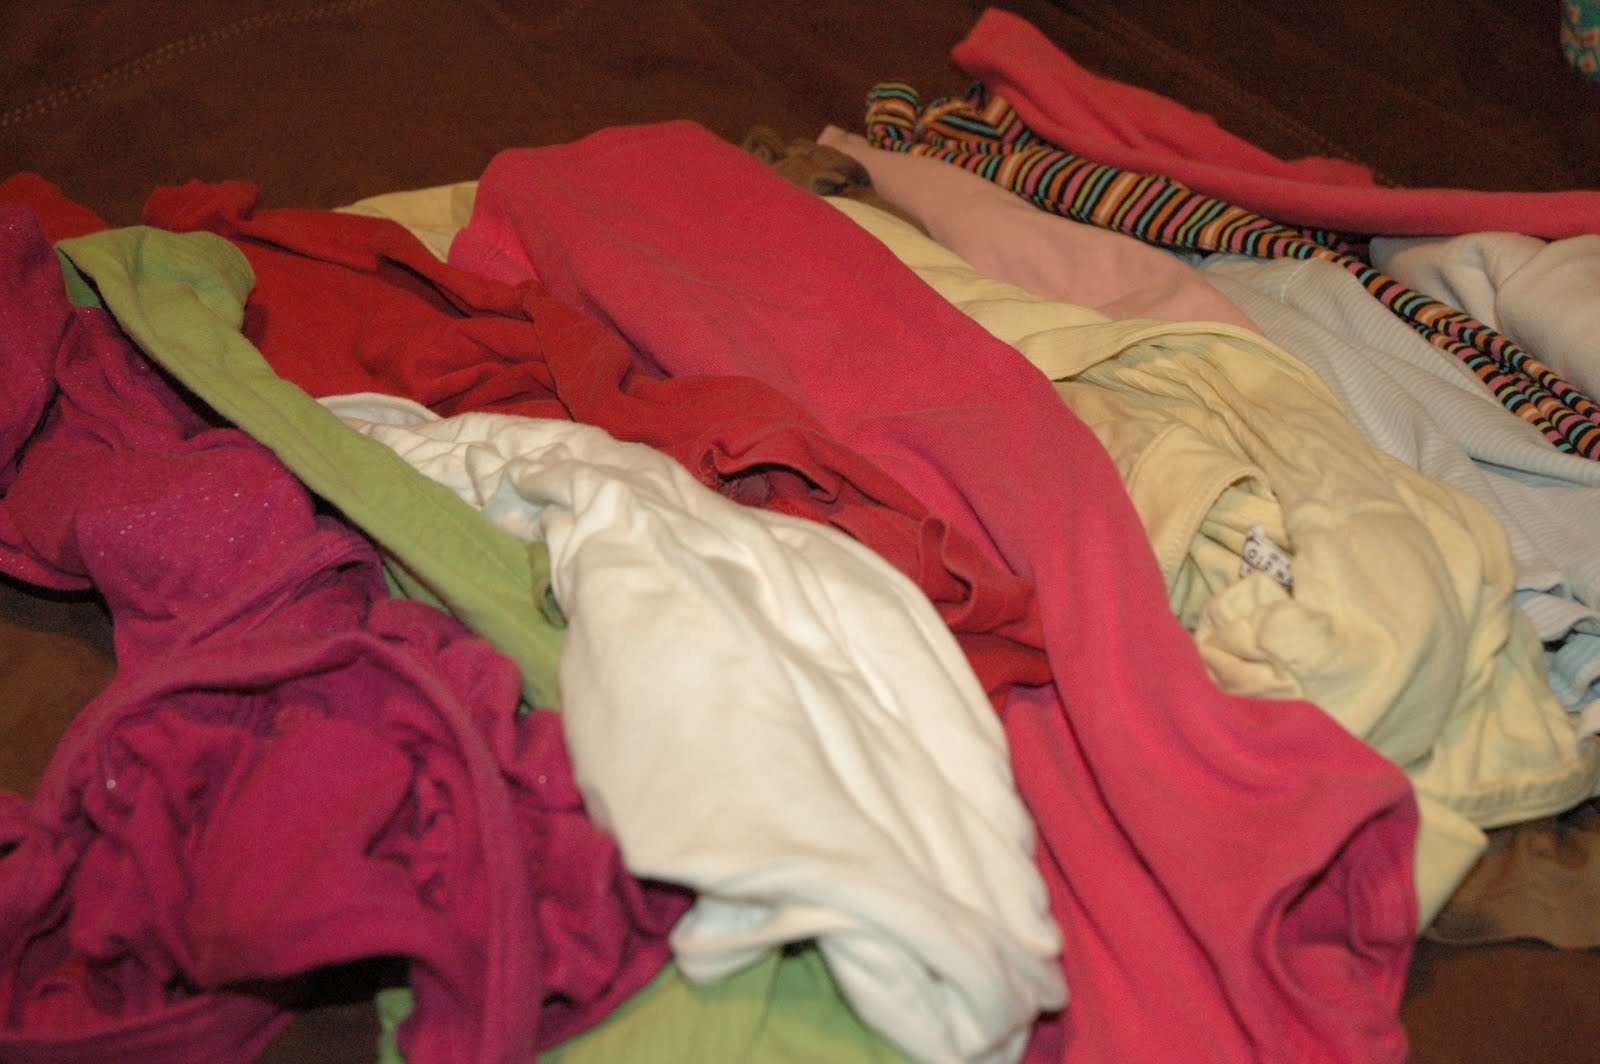
 Stained area on shirt
 I used an old green shirt and light pink shirt so come up with this.
 Original idea over at Sit Relax and Read.


